How To Fix Water Heater Issues
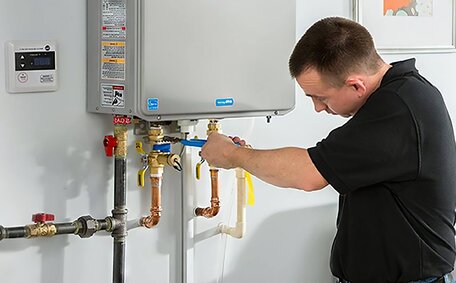
Can’t get hot water from your water heater? Try troubleshooting by checking the power supply, thermostat, heating elements and more. Call a pro plumber for repairs.
Read MoreCleaning your gas stove top, burners and grates regularly prevents grime buildup. Make a homemade solution using baking soda, vinegar and lemon juice. Spray and let soak before scrubbing.

Keeping your gas stove clean should be an integral part of your kitchen cleaning routine. Allowing grease and food residue to build up can be a fire hazard, negatively impact the performance of the burners, and make your kitchen look messy.
Fortunately, cleaning a gas stove is a straightforward process that can be done with common household items. This article will provide step-by-step instructions for effectively cleaning the burners, drip pans, grates, and other components of your gas stove.
Regular cleaning not only keeps your stove looking shiny and new, but also helps it function properly for many years. Over time, clogged burner ports can lead to uneven flames, slow heating, and other issues. Routinely removing grease prevents these problems.
Cleaning your gas stove every few months is recommended, or more often if you do a lot of cooking. Look for signs like sticky knobs, grimy drip pans, and discoloured grates as indicators that a deep clean is needed.
The cleaning process involves dismantling the various parts, scrubbing away debris, and putting the stove back together.
With the right tools and techniques, you’ll have your gas stove looking spotless in no time. The steps outlined below will walk you through the process from start to finish.
Before starting the cleaning process, make sure you have the following supplies ready:
Make sure you have all these cleaning supplies assembled before starting the process. This will allow you to work efficiently and avoid having to stop mid-clean to locate missing items.
The next step is to remove and thoroughly clean the grates that sit above the burners. These grates catch a lot of spillovers and can get coated in baked-on food and grease.
Carefully lift off each grate and place in the sink. Fill the sink with warm water and add 1⁄2 cup of white vinegar. Allow the grates to soak in this solution for 15-30 minutes to help loosen any stuck-on debris.
After soaking, use a scrubbing pad or steel wool to gently scrub away any remaining grime on the grates. Pay close attention to areas with visible staining or buildup. Rinse each grate with water after scrubbing.
For tough stains, create a paste with baking soda and water. Apply the paste to stained areas and let sit briefly before scrubbing. The baking soda will help scrub off any stubborn grime.
Once fully scrubbed, rinse the grates again and dry thoroughly with a clean towel. Set them aside until the rest of the stove components are cleaned and ready to be reassembled.
Taking the time to thoroughly clean the grates will help them look like new again. Be sure to get into all the nooks and crannies for best results.
Now it’s time to tackle the burner caps and heads. These small but essential components disperse the gas flames and get coated in drips and spills.
Start by removing the caps from the burner heads. Some twist off while others pull straight up. Place them in a bowl of hot, soapy water to soak.
Use a small brush or toothbrush to gently scrub the nooks and crannies of each cap. Rinse and dry completely.
Lift off the burner heads one by one. Soak them in hot, soapy water as well to loosen debris. Use a toothbrush or the rough side of a sponge to scrub away any built-up gunk.
For heavy staining on the burner heads, make a paste of baking soda and water. Apply it to stubborn areas and let sit before scrubbing. The baking soda will help remove grease and carbon deposits.
Take your time cleaning the small holes of the burner heads so they are free of blockages. Rinse each head thoroughly after scrubbing.
Once fully cleaned, shake off excess water and let the caps and heads air dry completely before replacing onto the stove.
Sparkling clean burner caps and heads are essential for your gas stove to heat properly and safely.
The gas ports on your stove burners are tiny holes that the gas flames come through. Over time, food particles and debris can clog these ports.
To unclog, use a straightened paper clip, sewing needle, or specialty burner cleaning tool to gently scrape any gunk out of each port opening. Take care not to enlarge the holes or scratch the metal surface.
After unclogging the ports, remove the burner bases from the stove top. Place them in a sink filled with hot, soapy water to soak. Use a toothbrush or other small brush to scrub the burner exteriors clean.
For stubborn buildup on the burners, make a paste of baking soda and water. Apply it to dirty areas and let sit briefly before scrubbing. The baking soda will help dissolve grease and carbon deposits.
Rinse the burners thoroughly after cleaning. Shake off excess water and let them air dry completely before returning to the stove. It’s important that no moisture remains before lighting the burners again.
Sparkling clean and unclogged ports are key for your gas burners to operate safely and efficiently. Take your time with this step to maximise performance.
After cleaning the individual components, it’s time to tackle the stovetop surface itself. This area around the burners is prone to splatters, drips, and baked-on spills.
Start by removing any removable parts from the stovetop like pan supports or heat diffusers. Use a damp cloth to wipe away any crumbs or loose debris.
For dried-on messes, apply a paste of baking soda and water directly to the stovetop. Let it sit for a few minutes to help lift grease. Then use a soft scrubbing brush or sponge to gently scrub the paste over the surface.
Rinse the stovetop with clean water and wipe dry with a clean cloth. For stainless steel surfaces, rub in a small amount of olive oil with a paper towel to maintain the finish.
Take a close look at the stovetop under good lighting to ensure no residue remains. A sparkling clean stovetop surface allows for safe and efficient cooking.
p>p>p>p>p>p>p>p>p>p>p>p>p>p>p>p>p>p>
After thoroughly cleaning all the components, it’s time to reassemble your gas stove. Take care when putting the parts back together to avoid damage or injury.
First, replace the burner bases onto the stove top, making sure they align properly with the gas ports underneath. Next, place the burners caps and heads back onto each burner base, securing them into position.
Before replacing the grates, inspect them one final time and remove any lingering debris with a damp cloth. Place the grates gently back onto the stove top, lining them up correctly.
Double check that all knobs and controls are fully dry before turning the gas back on. Make sure any removable parts of the stovetop surface are replaced securely.
Plug the stove back in and do a test run by lighting one burner at a time. Confirm that the flame is blue and even. Adjust the flame if needed until optimal performance is achieved.
As a last precaution, inspect all gas connections for leaks. Dab a bit of soap and water on joints and look for bubbling. If leaks are detected, turn off the gas immediately and consult a professional before using the stove again.
With all parts cleaned and stove reassembled properly, you can enjoy cooking on a like-new gas stove once again. Regular upkeep is key for efficiency and safety.
Cleaning a gas stove requires care and caution to avoid injury. Here are some important safety tips to keep in mind:
Staying alert and proceeding methodically will allow you to get the stove sparkling clean without harm. Prioritise safety throughout the process.
Cleaning your gas stove regularly is important to keep it operating safely and efficiently. But how often should it be done? Here are some general guidelines:
- Do a light clean of the grates, caps, and stovetop surface once a week. This involves just using a damp cloth to wipe away spills or splatters.
- Deep clean the burners, ports, knobs, and drip pans every 3-4 months. Look for discoloration or heavy buildup as signs a thorough cleaning is needed.
- Do a full disassembly and scrub down of all components every 6-12 months. This includes removing parts like grates and burners for soaking and scrubbing.
- Clean immediately after any spills, boilovers, or other messes. Don’t allow food residue to become baked on.
- Clean if you notice performance issues like uneven flames, slow heating, or ignition problems.
You may need to clean more or less often depending on how heavily the stove is used. Do regular visual inspections and clean whenever grease, grime, or debris is present. Keeping to a routine cleaning schedule will help prevent dangerous buildup and keep your gas stove running safely for years to come.
Can’t get hot water from your water heater? Try troubleshooting by checking the power supply, thermostat, heating elements and more. Call a pro plumber for repairs.
Read MoreCloudy or milky hot water coming from your taps is generally harmless and caused by trapped air bubbles in the water. Simply running the tap for a little while will usually clear up the water. If the cloudiness persists, it could be caused by sediment buildup or issues with your pipes.
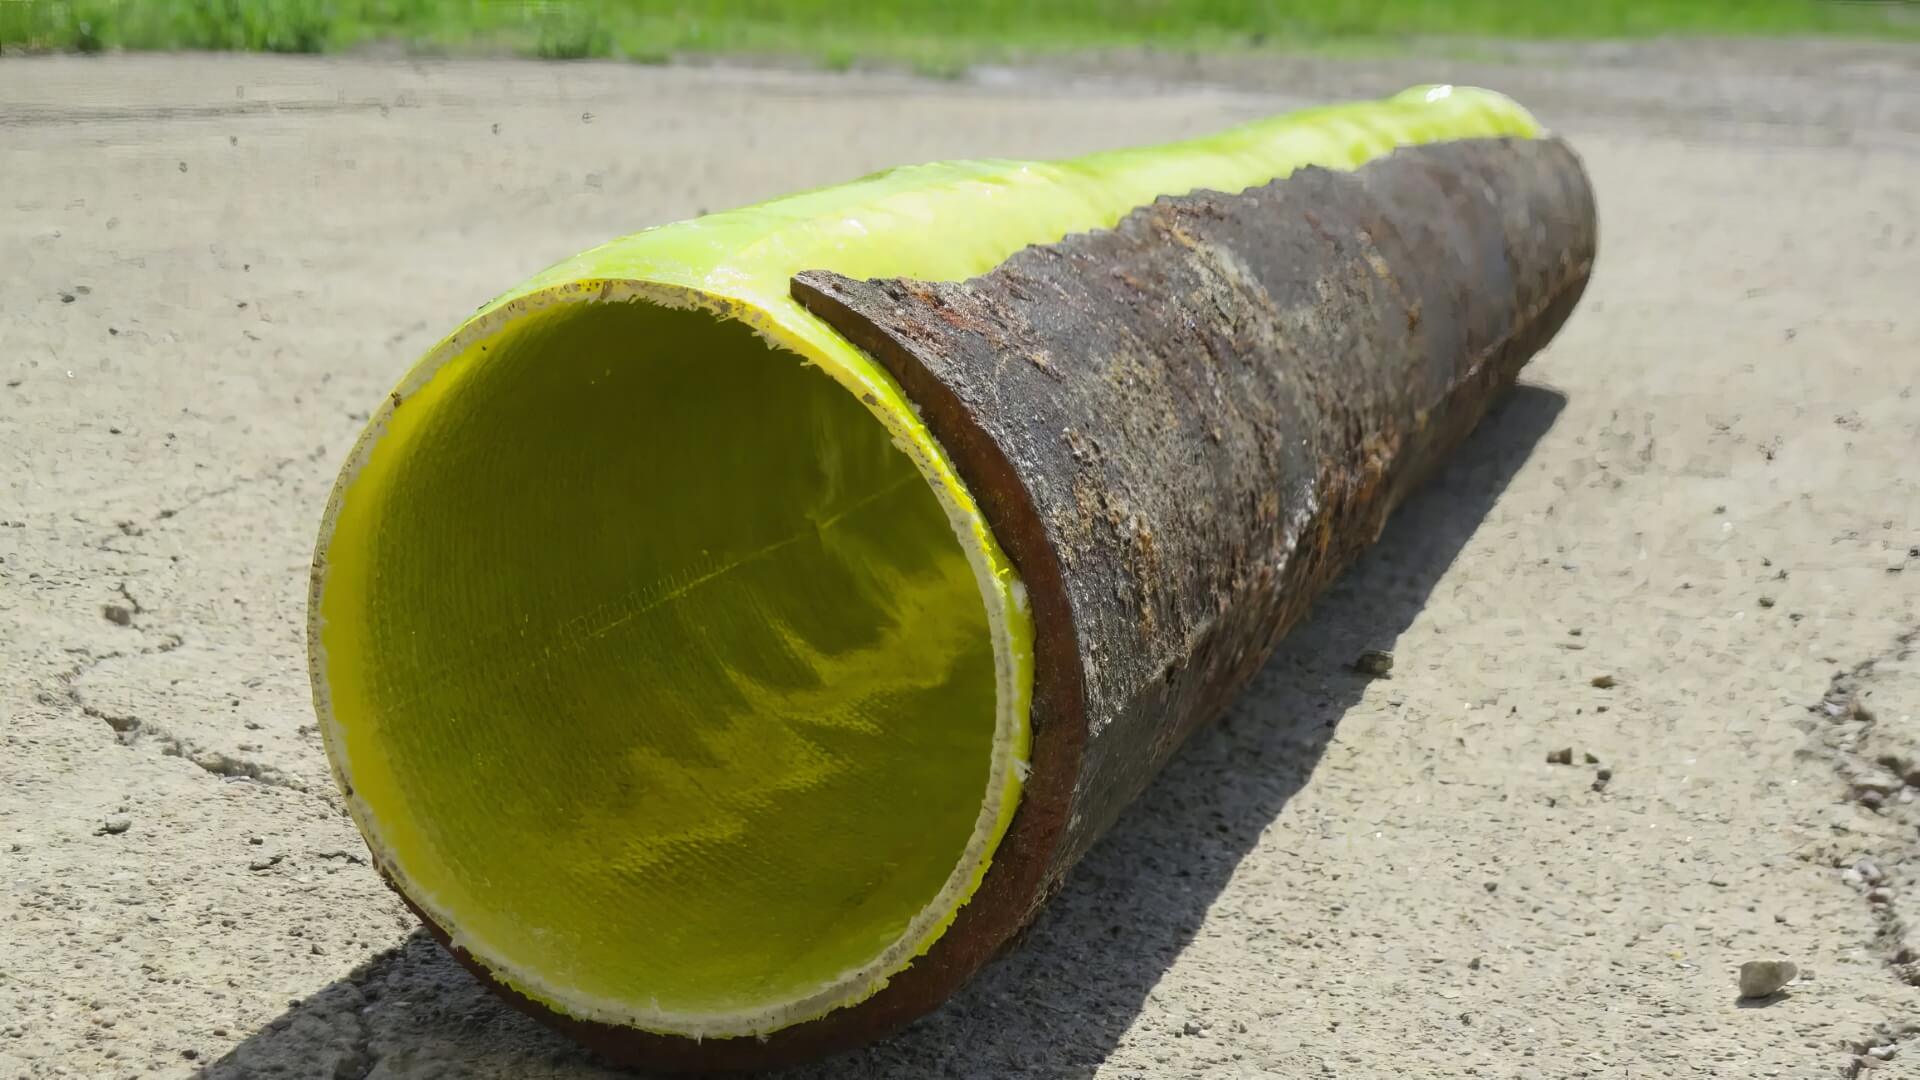
Read MorePipe relining involves inserting a tube inside damaged pipes to repair cracks and leaks without digging. This trenchless method may allow pipes and plumbing fixtures to be relocated during bathroom renovations. Contact our expert plumbers to understand if pipe relining can reposition your pipes and fixtures.
Read MoreBaulkham Hills, 2153 NSW
We will call back as soon as possible.